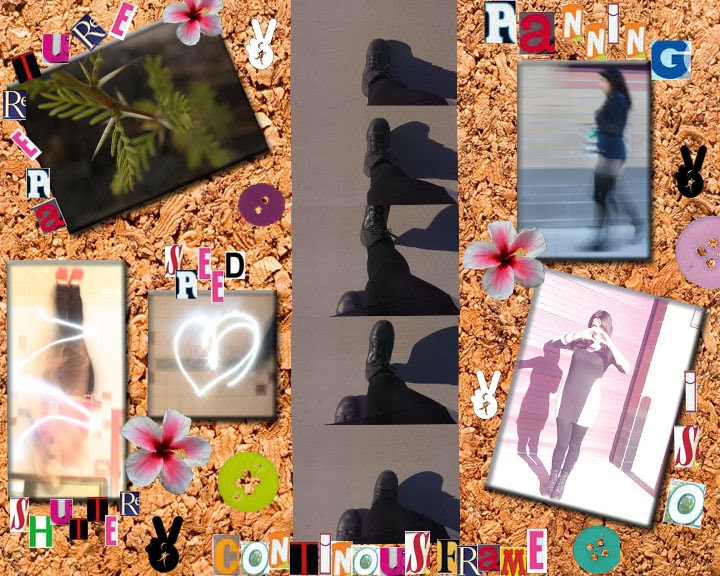
Students will post examples of photos using adjustments with ISO,
Aperture Priority, Shutter Priority, Panning, Continuous Frames, and HDR.
ISO - rating of film's
sensitivity to light. Low ISO, such as 100, is less sensitive to light
and therefore needs more light to capture detail in an image; high ISO,
such as 800, is more sensitive to light and needs less to capture
detail. Low ISO creates higher-quality images and high /iso creates
lower-quality images with visible grain.
 |
| low speed |
 |
| high speed |
|
|
|
|
|
|
|
|
How to change settings on camera;
Switch the dial to M (manual), then push the menu button, select camera
menu, scroll down to ISO, select your speed, then press ok. If you need
to use the flash, press the flash symbol (lightning bolt with arrow)
next to the arrow sign. Choose the option without the slash through it.
Aperture - hole or opening in which light travels through
When using the aperture priority mode, you have more control over the
depth of field (distance between nearest and farthest object in a scene
that appear sharp/in focus).
How to change settings on camera;
Switch the dial mode to A (Aperture). Keep in mind, the higher the
number the smaller the opening. This means that less will be in focus in
your picture. After choosing the Aperture mode, press the +/- symbol.
This symbol will increase aperture, and the clock symbol will decrease.
Look on your screen and it will display the changes. Choose different
settings to see the difference between settings.
Shutter Speed/Exposure Time - is
the effective length of time a camera's shutter is open. If you want to
catch a snapshot of something in action (basketball game), you would
have a fast shutter speed. A slower shutter speed will allow you to show movement over time. Such as the headlights on a car. You can have one object that is still, and the background display movement.
 |
| fast shutter speed |
 |
| slow shutter speed, with one object staying still |
|
|
|
|
 |
| slow shutter speed to capture movement of sparklers |
How to changes settings on camera;
Switch the dial mode to S (Shutter Priority). Same as adjusting the
aperture. Choose the +/- to increase and the clock to decrease. Again,
watch your display screen to see your changes. Try multiple settings to
get the right photo.
Panning - Set your ISO to the lowest setting. Then adjust your shutter speed so that your exposure time is long (slow shutter speed). While the shutter is open, slowly move camera to the left or right to follow the moving subject. You may want to use a tripod for this technique. Begin panning before subject comes into picture. This will take several tries to capture.
 |
| note: background is blurred, while subject is in focus |
|
|
Continuous Frames - This refers to shooting multiple shots consecutively without a break. Think of a flip book.
How to change camera settings:
Switch the dial mode to A (Aperture). You will have to set the correct
aperture for your shot. Once you have done this step, select menu.
Choose camera menu, set the ISO to 400. Then select drive. After you
select drive, choose the Hi2. When you are ready to shoot your subject,
hold the shutter button down until you have captured the entire shot.
Review it to make sure the settings are correct. It should read as a
step by step image.
HDR (High Dynamic Range) This is a process that requires one to bracket their frames. The bracketing starts at a low exposure to an over exposure. This process includes 4 plus shots to render in Photoshop for the final image.
How to change camera settings:
Switch the mode dial to M, for Manual. You must look through the viewfinder to see the scale. Use the turn dial by the shutter button to change the settings. Move the dial to the left, you will see the marker move down the scale. After each photo, move the dial so that the marker moves to the right one stop. Take another picture, then continue to do this until the marker is on the right side of the scale.